Grant Permissions Using Groups in Admin Tools
Project administrators can use Admin Tools to grant users access to specific applications, groups, and projects within Carta. Permissions can be managed at a fine-grained level — per user and per resource — but the recommended approach is to assign users to groups.
Groups streamline access management by bundling related permissions together, making it easier to ensure users have the right level of access across the platform.
1. Open Admin Tools
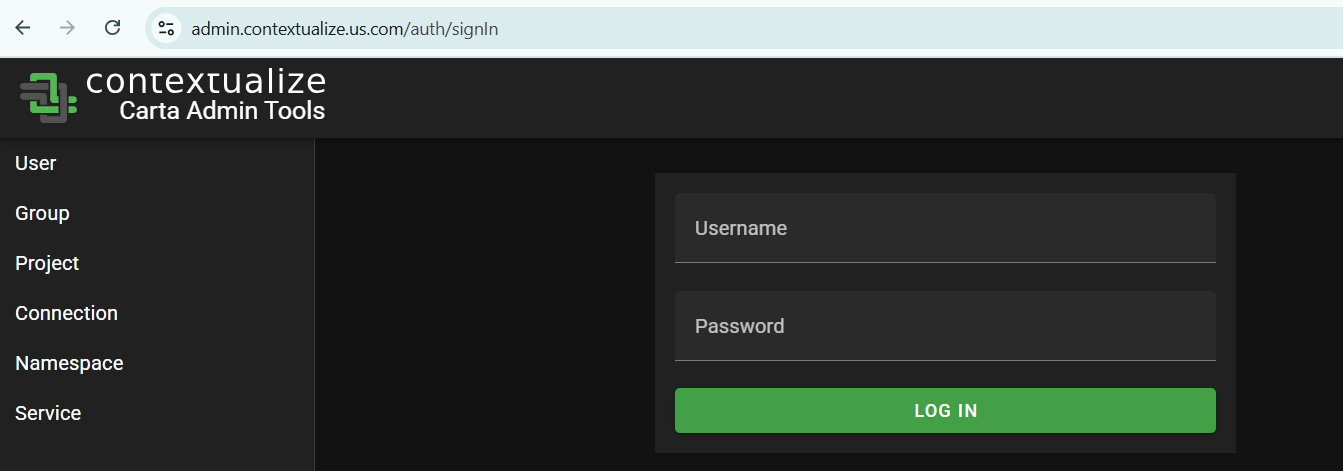
Navigate to admin.contextualize.us.com directly, or access Admin Tools through the Portal.
2. Log in
If you are not already signed in, you will be prompted with a user challenge. Enter your Carta username and password, then select LOG IN or login using your organization's SSO.
3. Select the 'Group' tab
From the left-hand sidbar, click on the Group tab. This will show a list of groups you belong to.
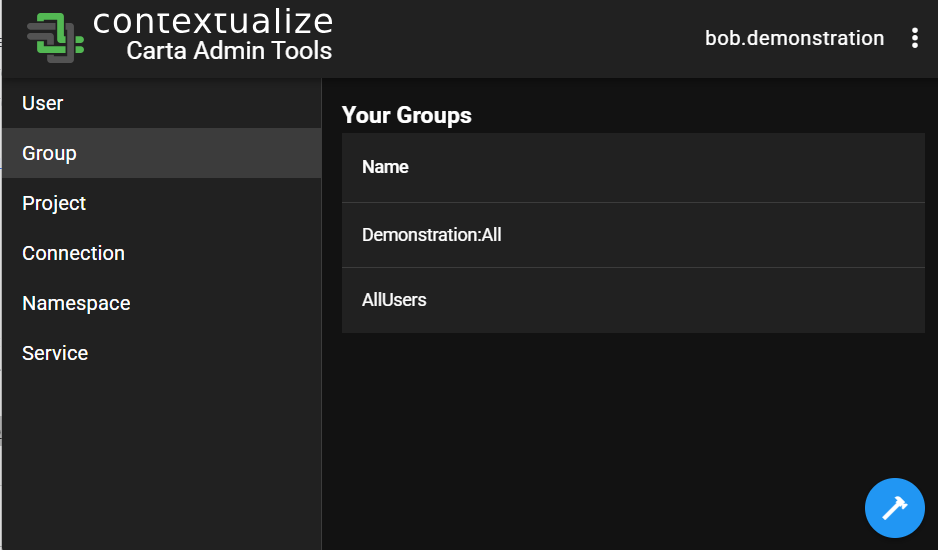
4. Select the 'hammer' icon
On the left-hand side of the screen, "Group" should be selected. Click the blue hammer icon located in the bottom-right corner of the screen to open the administrator actions menu.
![]()
5. Select 'ADD USER TO GROUP'
In the admin menu that appears, select ADD USER TO GROUP.

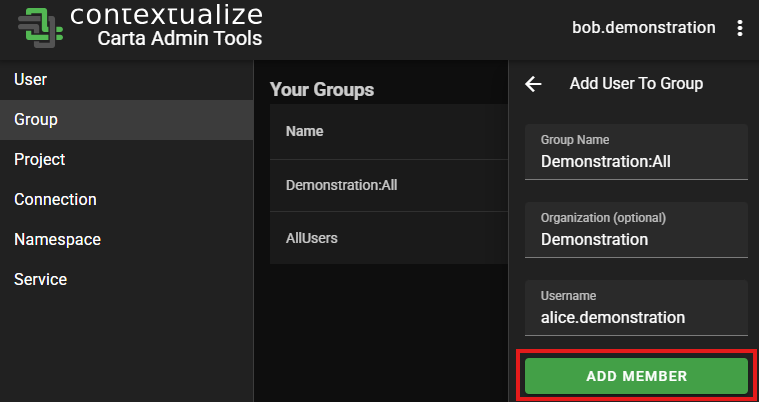
6. Enter the information
Fill out the following fields:
- Group Name: The group name you would like to add the user to
- Organization (optional): The organization the user should belong to
- Username: The username of the person you would like to add to the group
💡 Tip: To view the organizations you have access to, go to the GROUP tab on the left-hand sidebar.
The organization name is the part before the colon in the group name.
_Example: forDemonstration:All, the organization isDemonstrationin the screenshot below.
7. Select 'ADD MEMBER'
Click the ADD MEMBER button to finish adding the user to the group.
The user will now have permissions to the same applications and data that is allowed by being part of that group.