A Step by Step Guide to Using Collections
1. Navigate to Carta Collections
Naviagte to https://collection.contextualize.us.com/ directly, or access Admin Tools through the Portal.
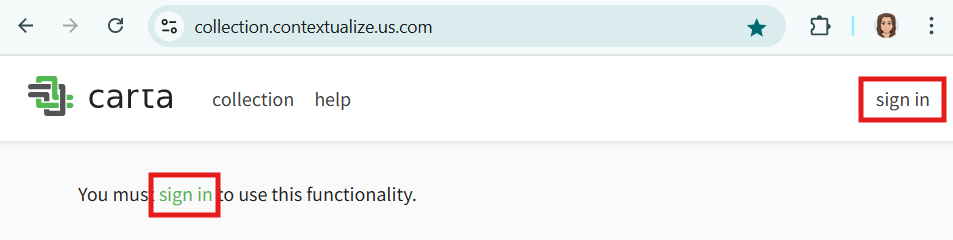
2. Click "Sign In"
Click either of the visible Sign In links.
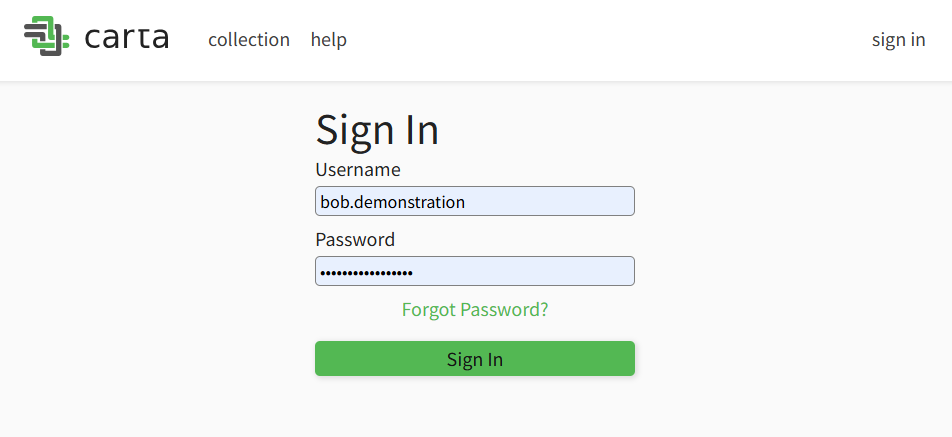
3. Enter Credentials
Enter your username and password, then click Sign In.
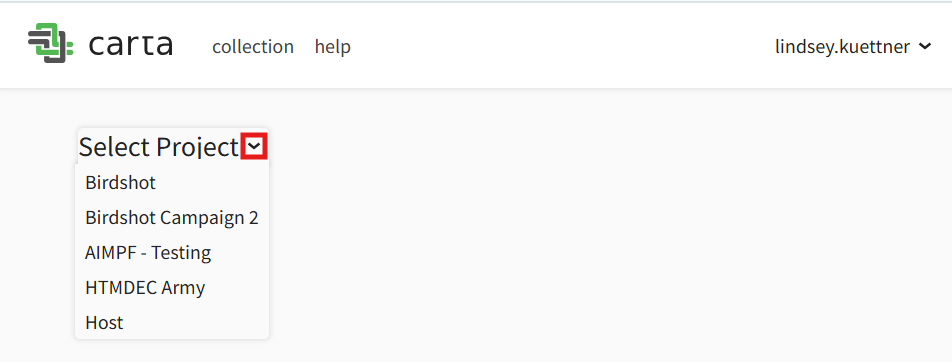
4. Select a Project (if prompted)
If you see the Select Project screen, your account has access to multiple projects.
a. Click the arrow next to Select Project
b. Choose your desired project from the dropdown.
5. Project Home Page
Once inside your project, you'll land on the Project Home Page, where you can:
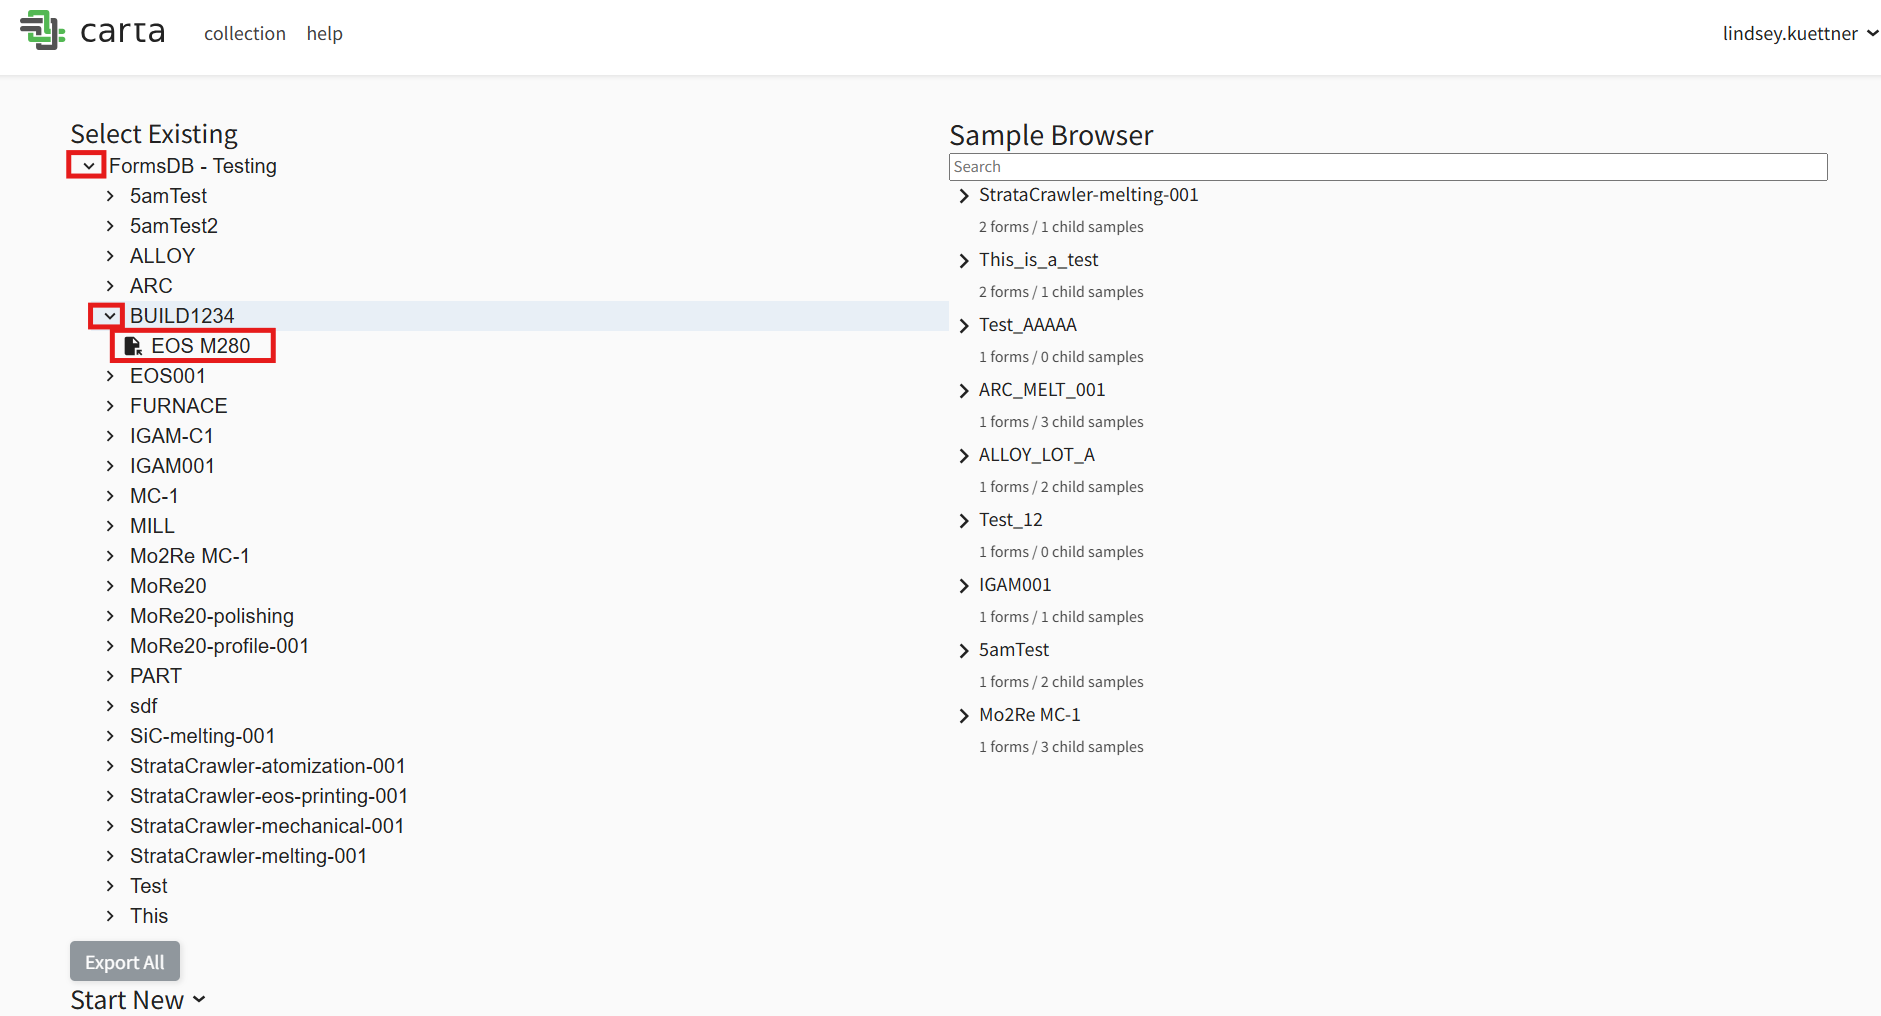
a. Edit or Explore Existing Data through 'Tree View'
i. Click the arrow next to your Form storage name (typically, "FormsDB") to expand the data hierarchy.
ii. Navigate the folder structure to find your form.
iii. Click the form to open it.
iv. Make any desired edits by clicking fields and updating values.
v. Click Save and Close when finished.
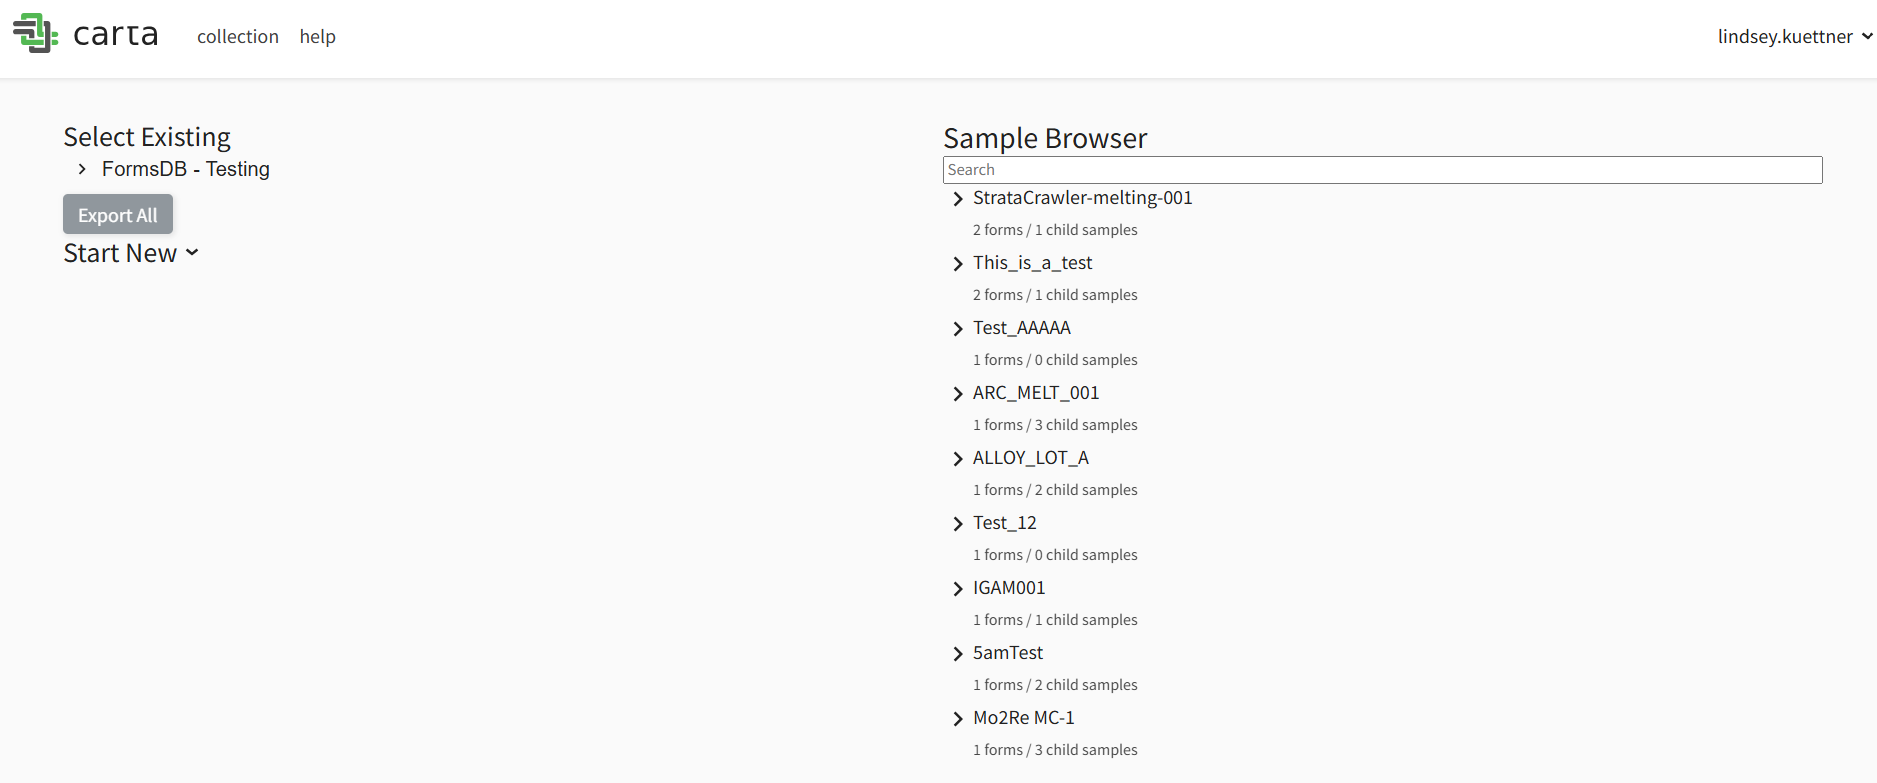
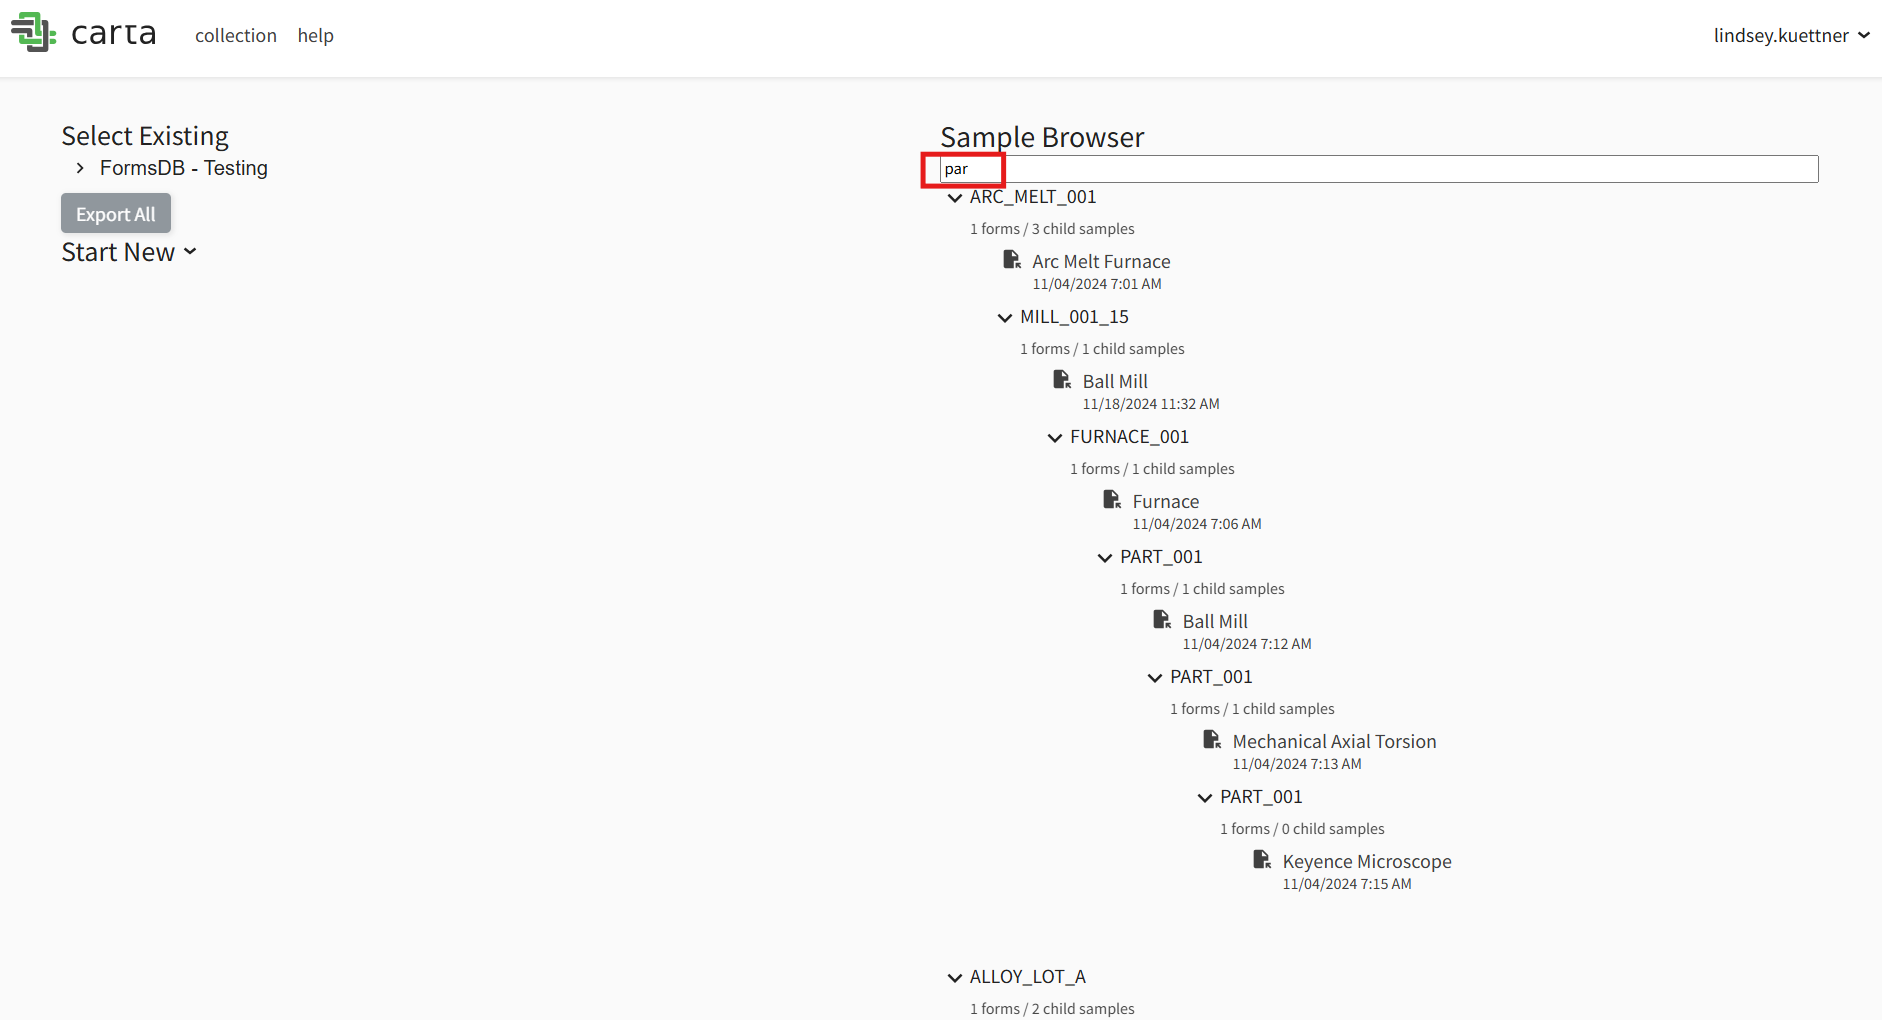
b. Edit or Explore Existing Data through 'Sample Browser'
i. In the "Search" bar under "Sample Browser" you can begin typing any known ID (primary key) and the view will show associated forms. ii. You can click arrows and navigate the parent/child structure to find forms. iii. Click any form to open it. iv. Make any desired edits by clicking fields and updating values. v. Click Save and Close when finished.
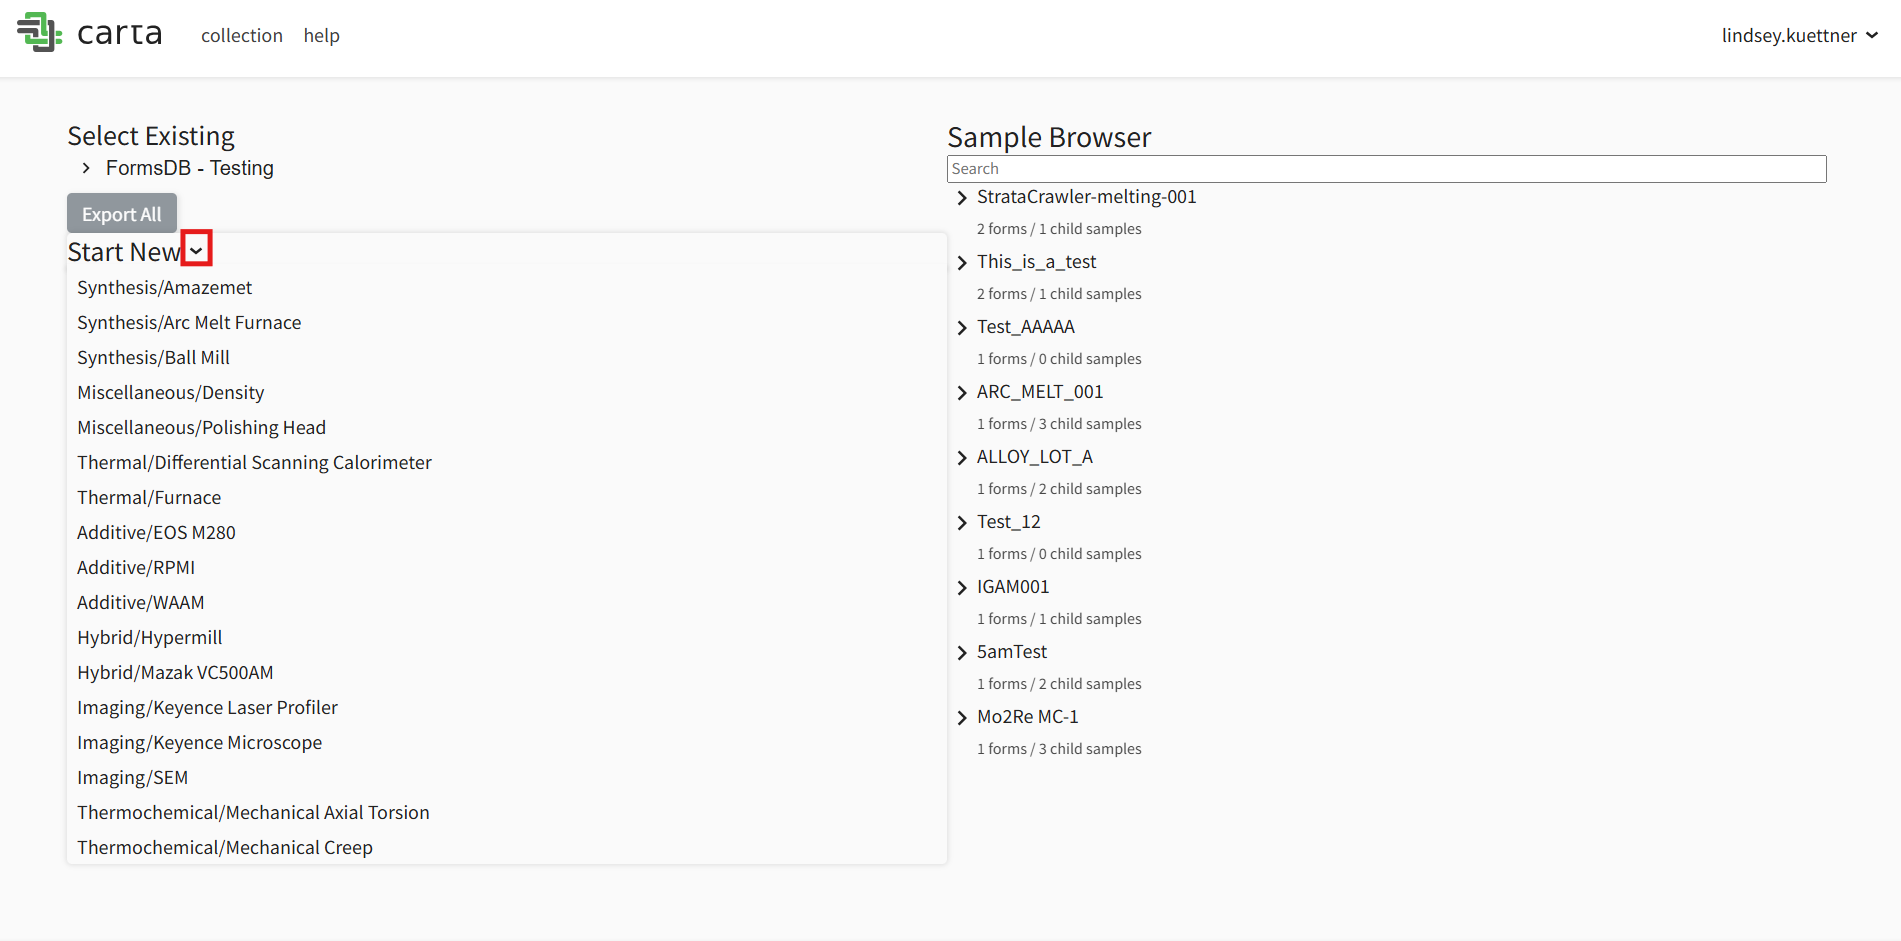
c. Start a New Form
i. From the home screen, click Start New.
ii. Select the appropriate form template.
iii. Fill in all required fields.
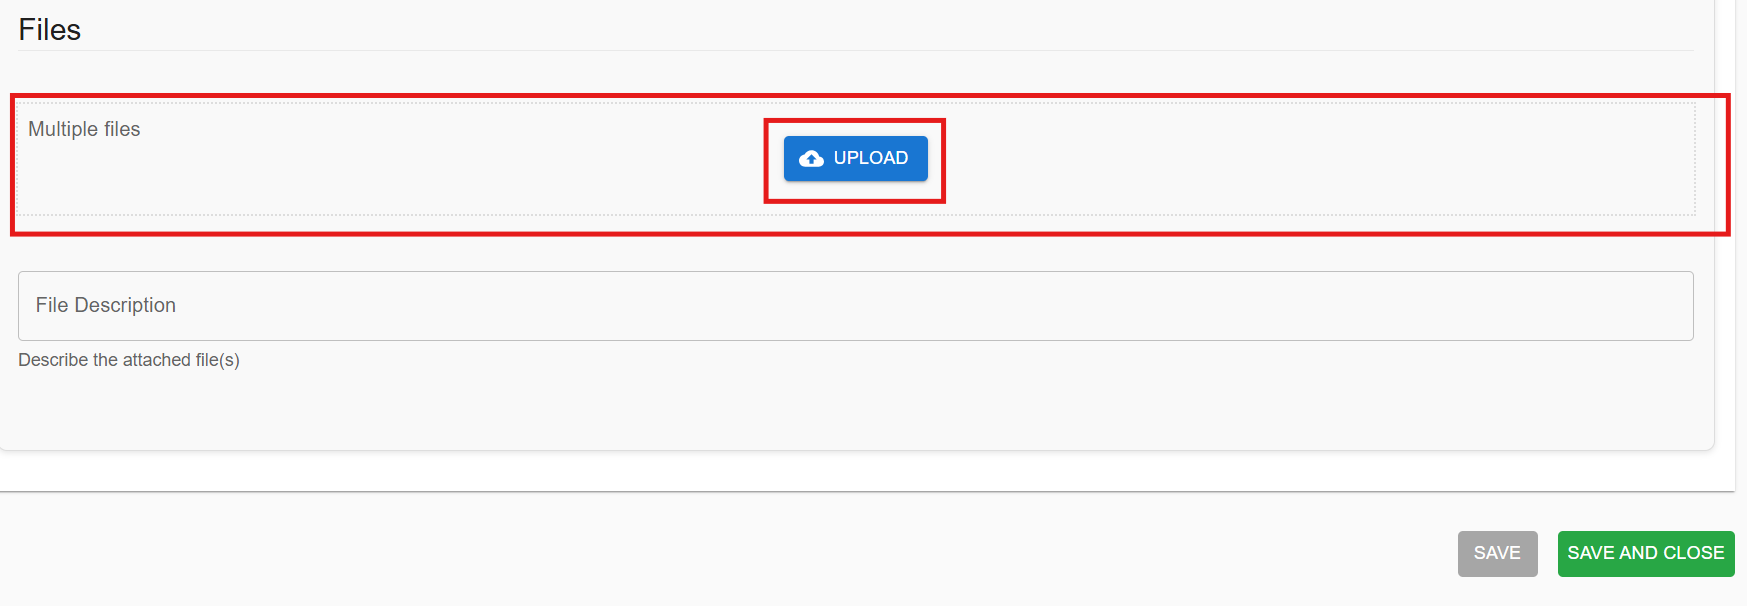
iv. (Optional) Upload a file:
- Drag and drop associated file(s) into their respective File Upload dialog or
- Select the "Upload" button to select file(s) from your computer's File Explorer.
 v. Click Save and Close to save the form and any attached files.
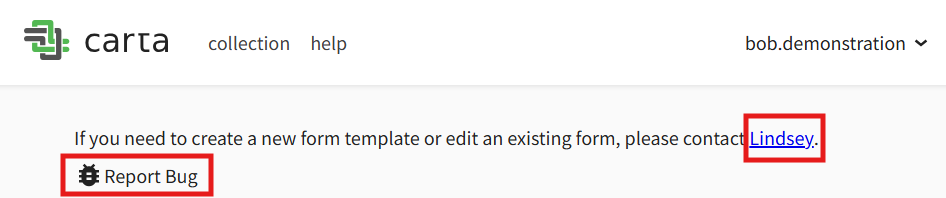
d. Request Help
i. Click Help
ii. Select a contact name — this will open your default email client
iii. Alternatively, you may select "Report Bug" to report any issues.
iii. If your email client is not configured, right-click and copy the email address manually.
iv. Each project can have custom help contacts and information.
6. Navigate Between Projects or Return Home
Click the Collection title or Carta the logo in the top left to return to the Project Home or Select Project screen.

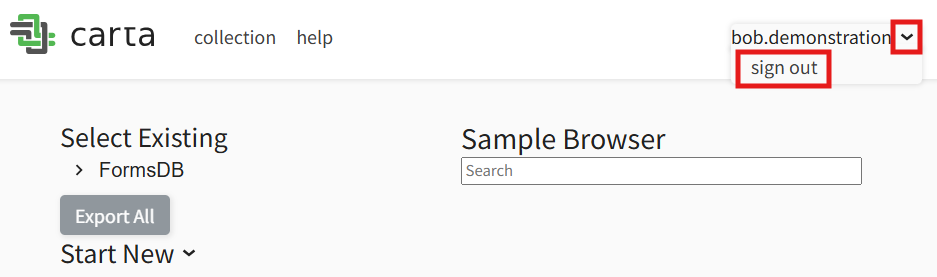
7. Sign Out
Click your username in the top right, then select Sign Out.
Additional Features
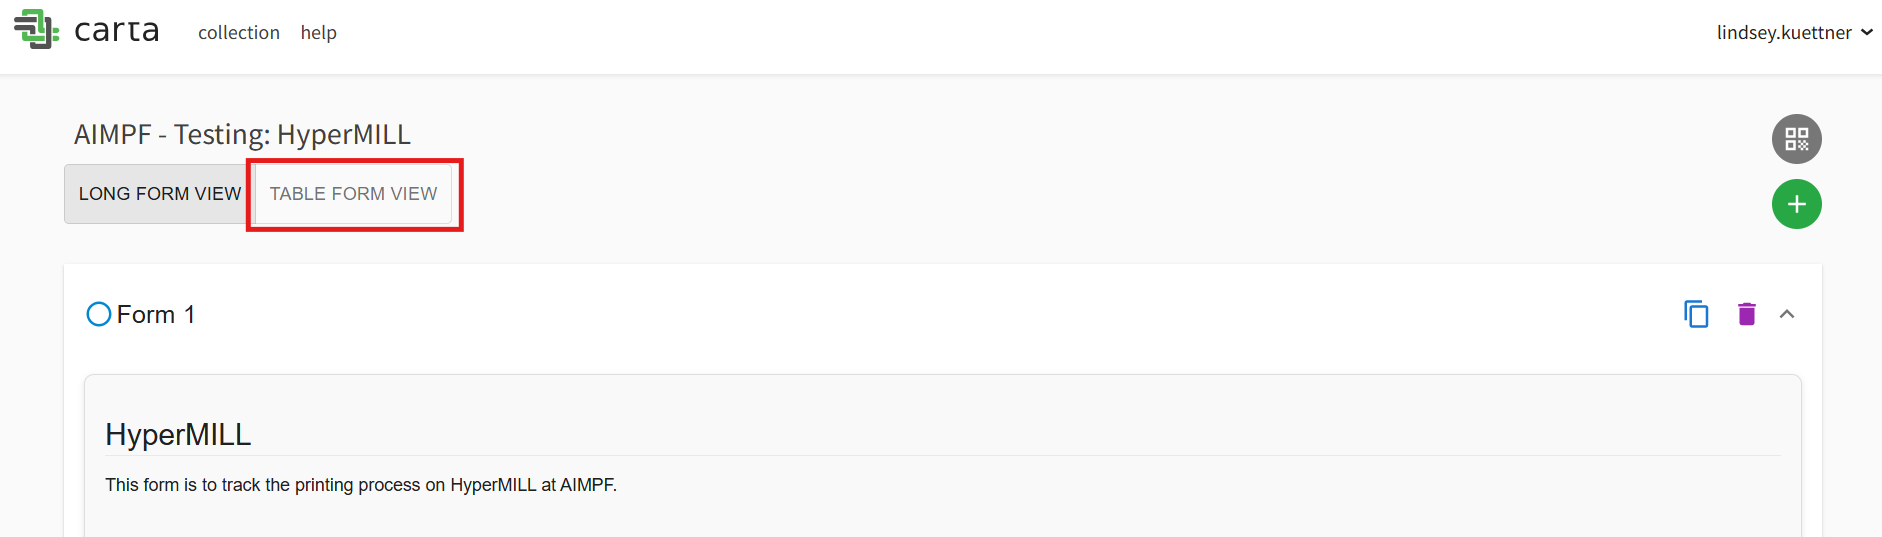
1. Table View
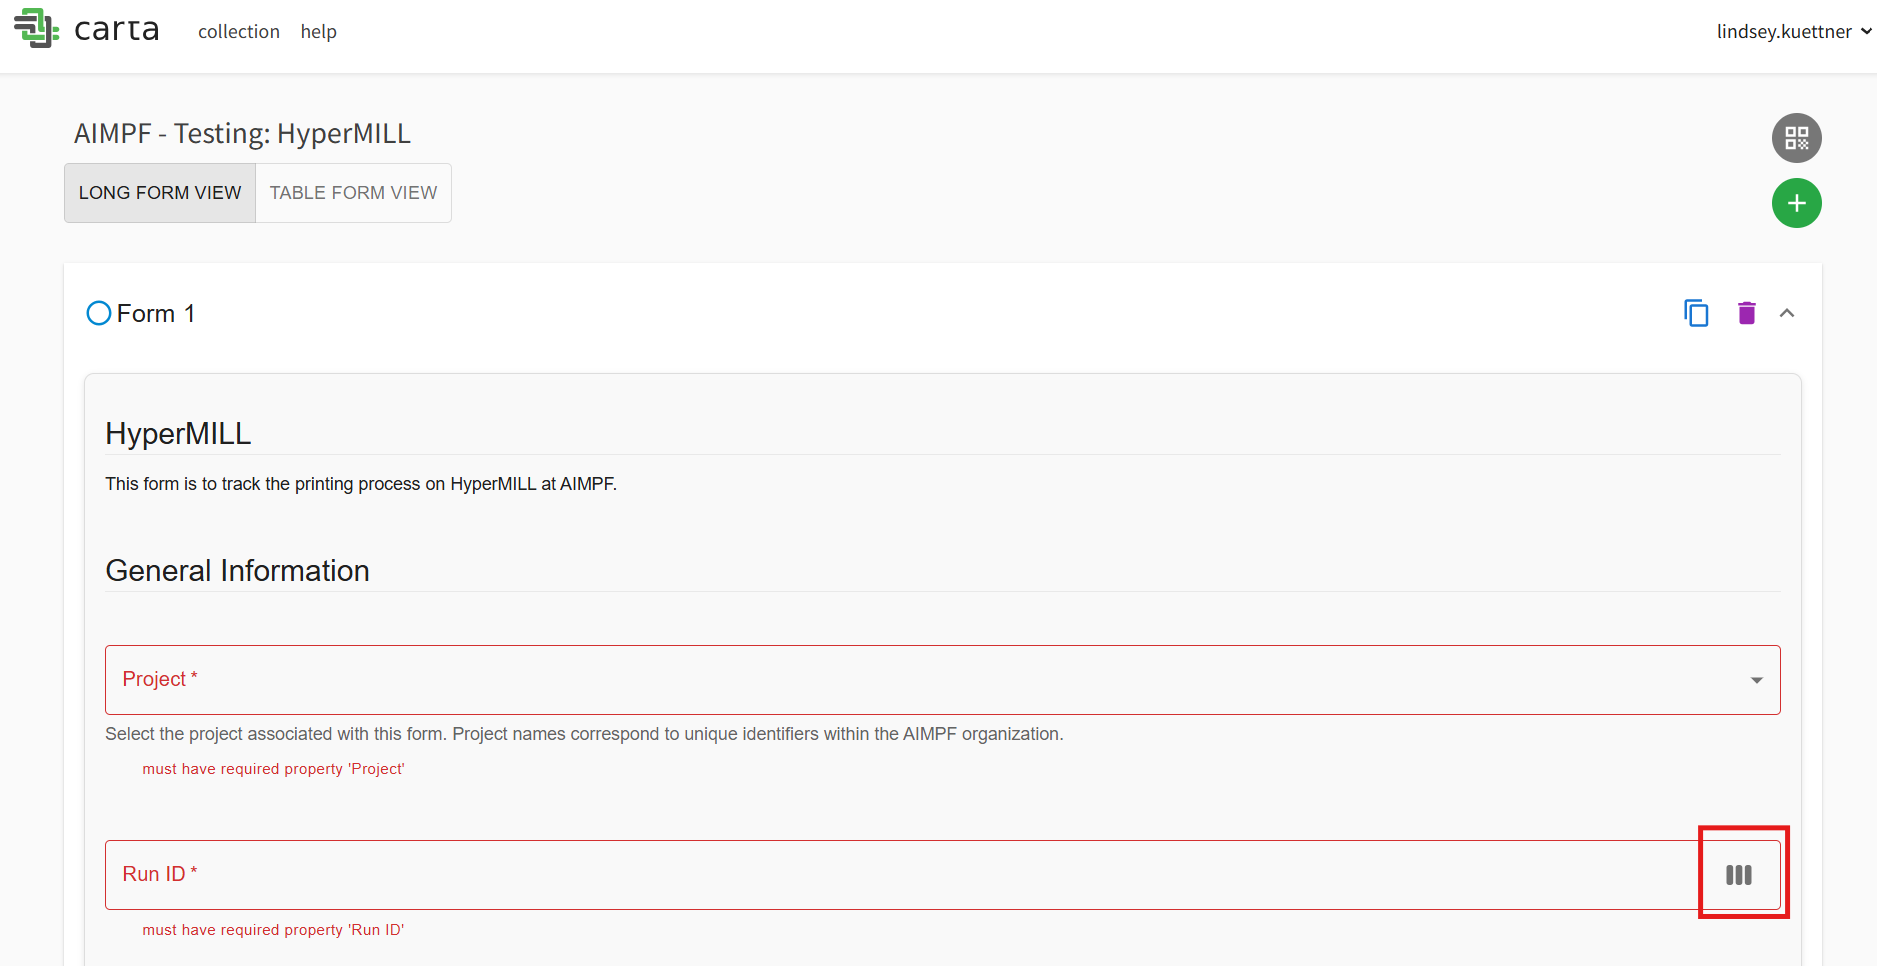
Table View is designed to help users upload multiple, similar samples. For users who have a series of samples (or just prefer the layout), Table View can be used as such:
a. Select "Table Form View"
b. Fill out Process Information
Fill out each property as needed for your process. You may have to scroll to the right to complete the form.
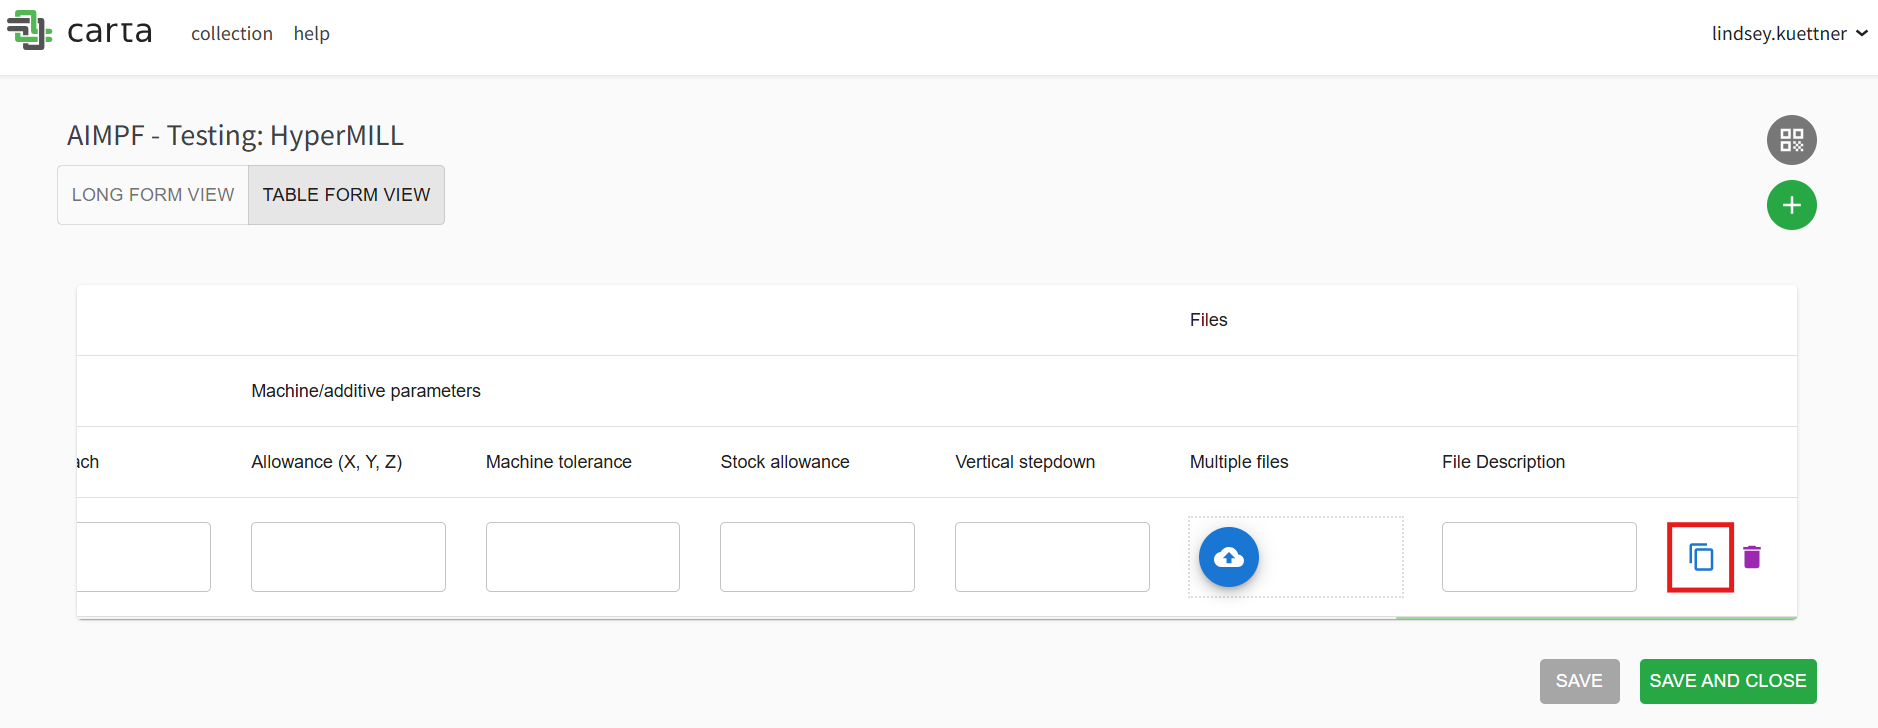
c. Select the 'copy' Icon as many times as needed
You will likely have to scroll to the right to find this icon.
d. Change Necessary Information
Change any necessary or different information (typically a Sample ID or a process parameter)
e. "Save and Close"
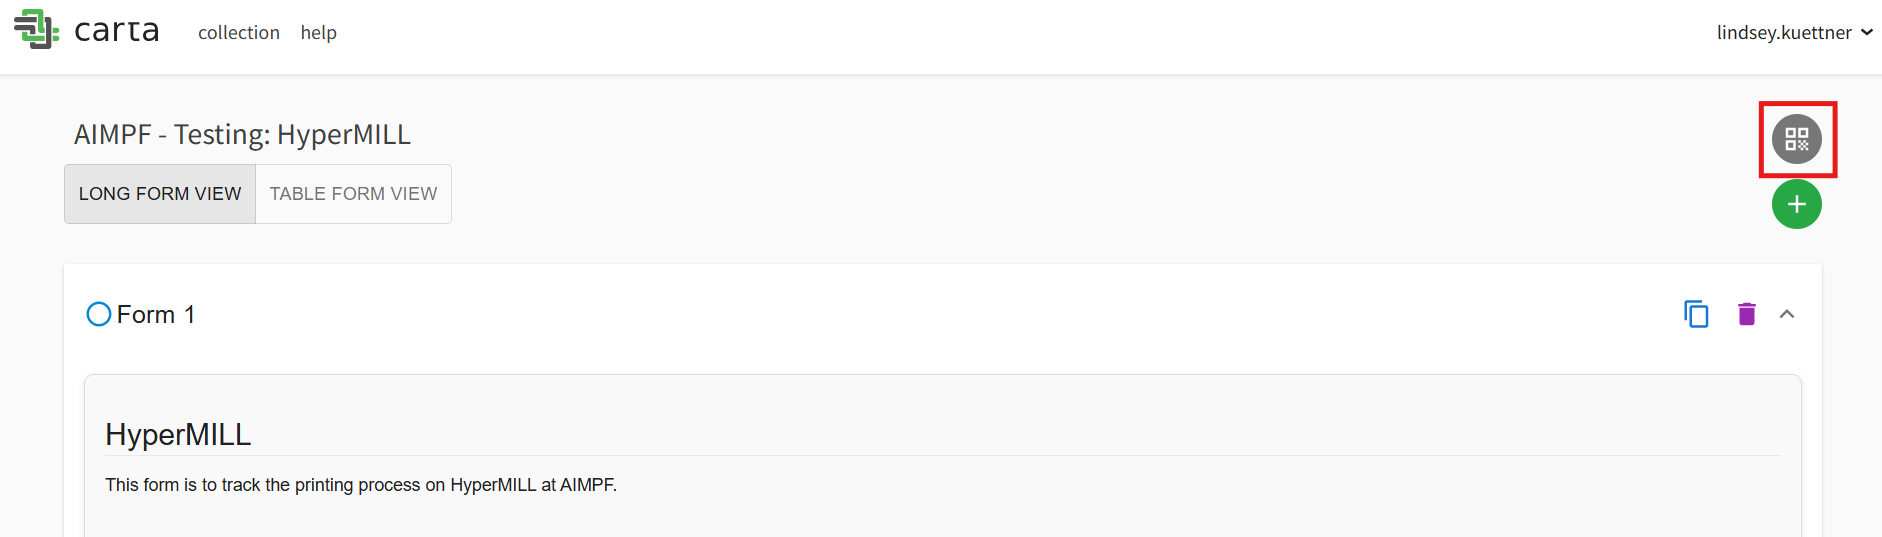
2. QR code for forms
A new form has an option for a QR code. This can be printed and affixed directly to an instrument in a process (such as to the side of a 3D printer) for easy scan-and-fill access to the form in Collections.
3. Sample barcodes
Once a primary key is entered, this can generate a barcode. This barcode can be printed and adhered directly to the part or samples, allowing for easier sample tracking.