A Step by Step Guide to Using Form Builder
1. Navigate to Form Builder
Navigate to https://form-builder.contextualize.us.com/ directly, or access Form Builder through the Portal.
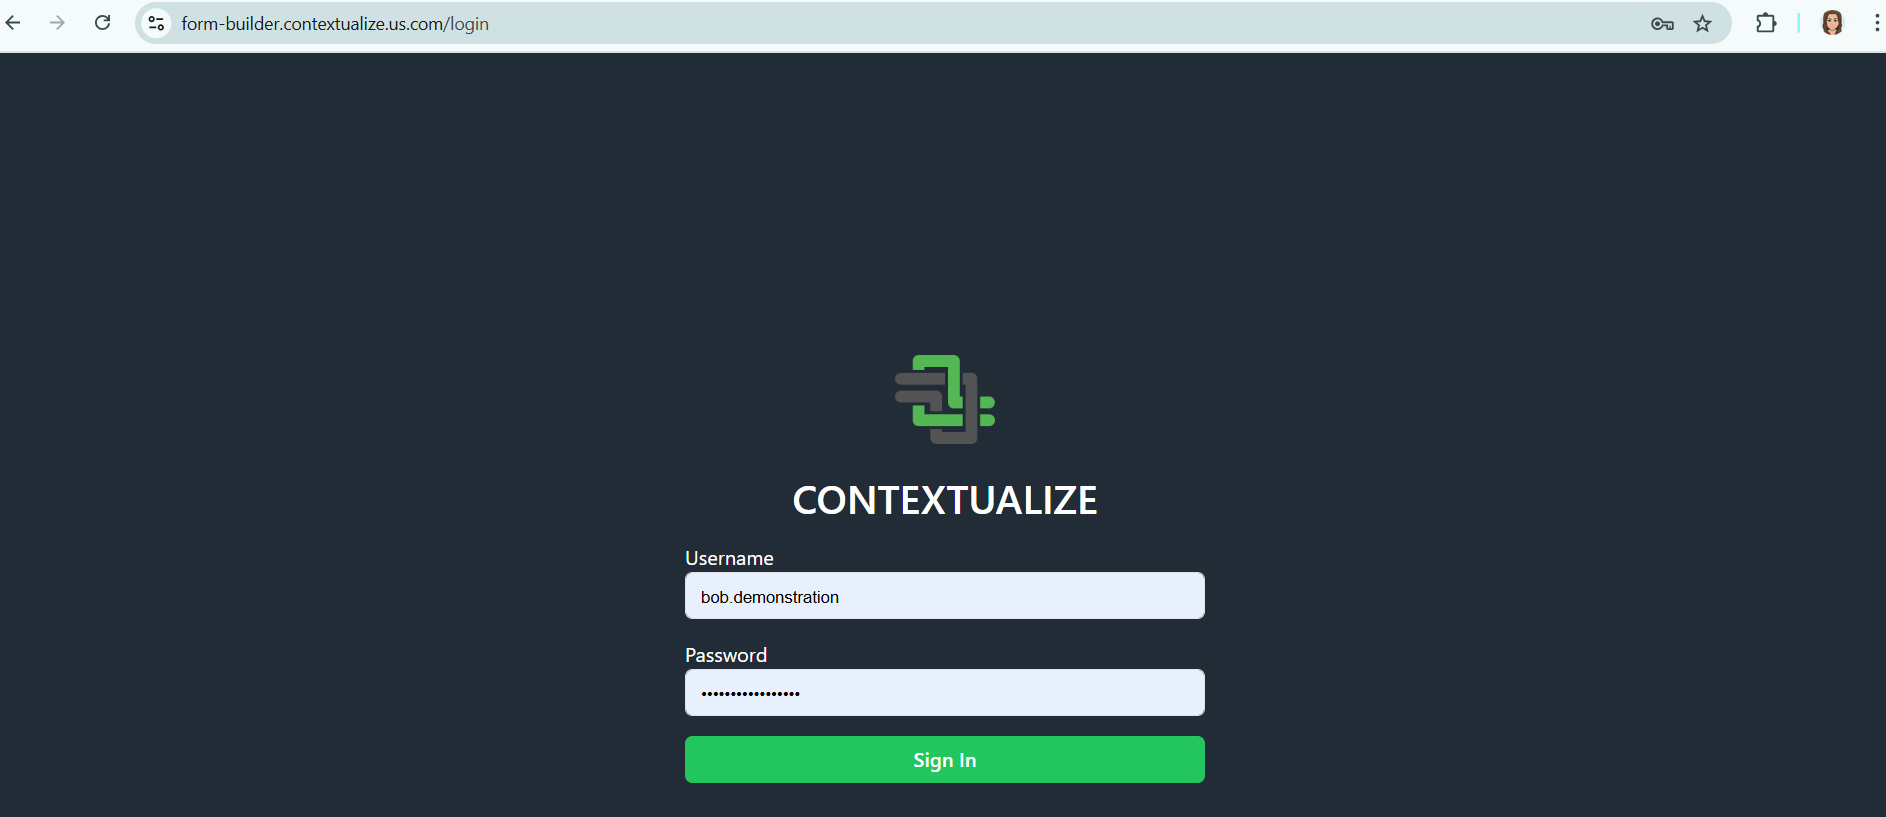
2. Sign In
You will be prompted to enter your username and password. Click Log In to continue.
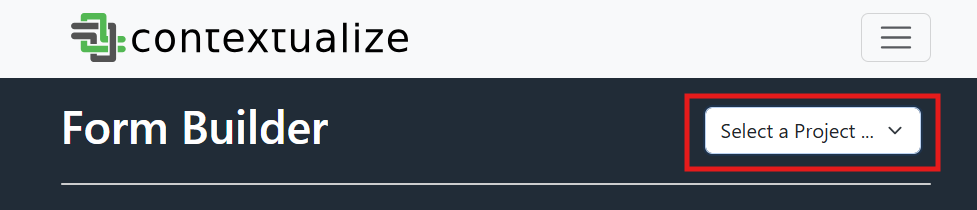
3. Select Your Project
Use the dropdown in the top right of the screen to select the organization or project for the form you're building.
4. Open a Form in the Project Home Page
Once inside your project, you'll land on the Project Home Page, where you can:

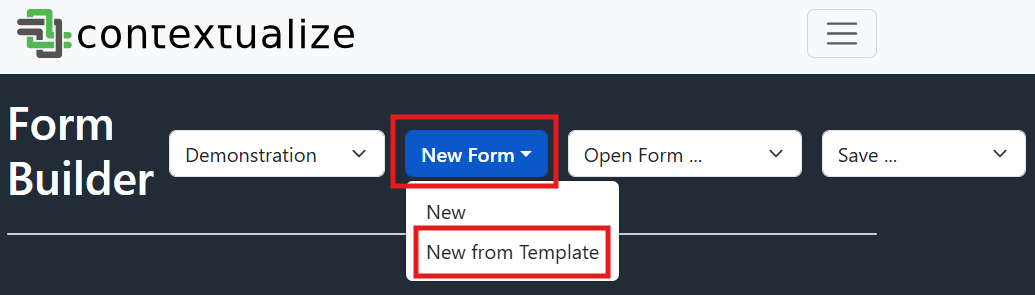
a. Create a New Form (from Template) - RECOMMENDED
Click on the "New Form" button then New from Template to create a new form from your project or organization defined template. Then proceed to step 5: Edit a form.
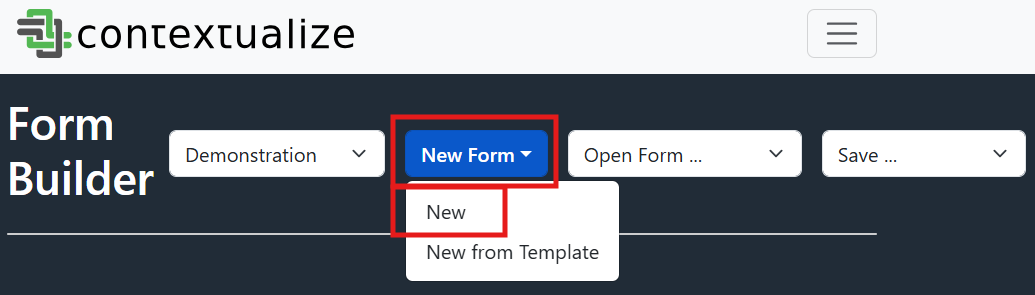
b. Create a New Form (from blank)
Click on the "New Form" button then New to create a new form from nothing (e.g. empty JSON) then proceed to step 5: Edit a form.
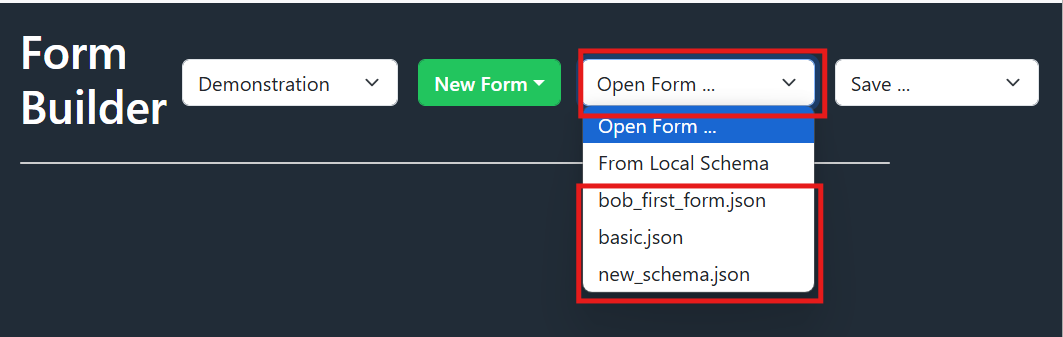
c. Edit an Existing Form (in Collections)
Click on the "Open Form..." button then a desired filename to open a form that currently exists in Collections. You can either use this to edit and existing form or use the existing form as a starting point. The differentiation will come when you save the form in Step 7. Proceed to step 5: Edit a form.
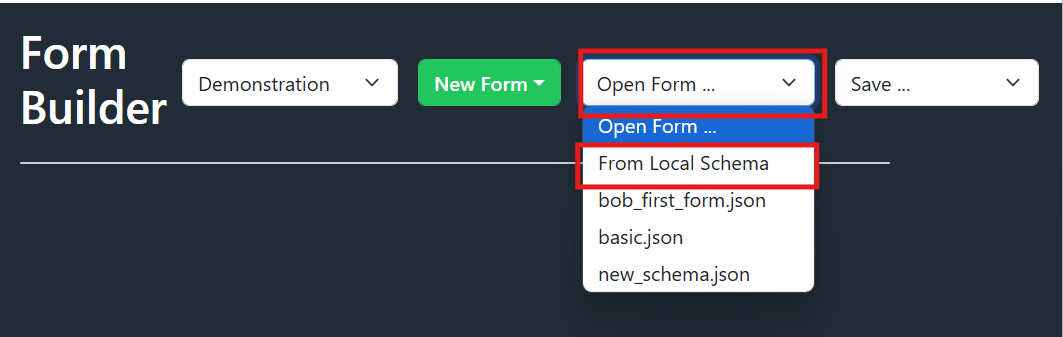
d. Edit an Existing Form (save JSON locally)
Click on the "Open Form..." button then "From Local Schema". This is helpful if you were creating a schema but unable to finish and chose to save the JSON locally, for editing at a later time.
💡 Tip: Need help adding units to numeric fields? See How to Handle Units in Forms
5. Edit a Form
When editting a form, there are a number of features to create your desired form.
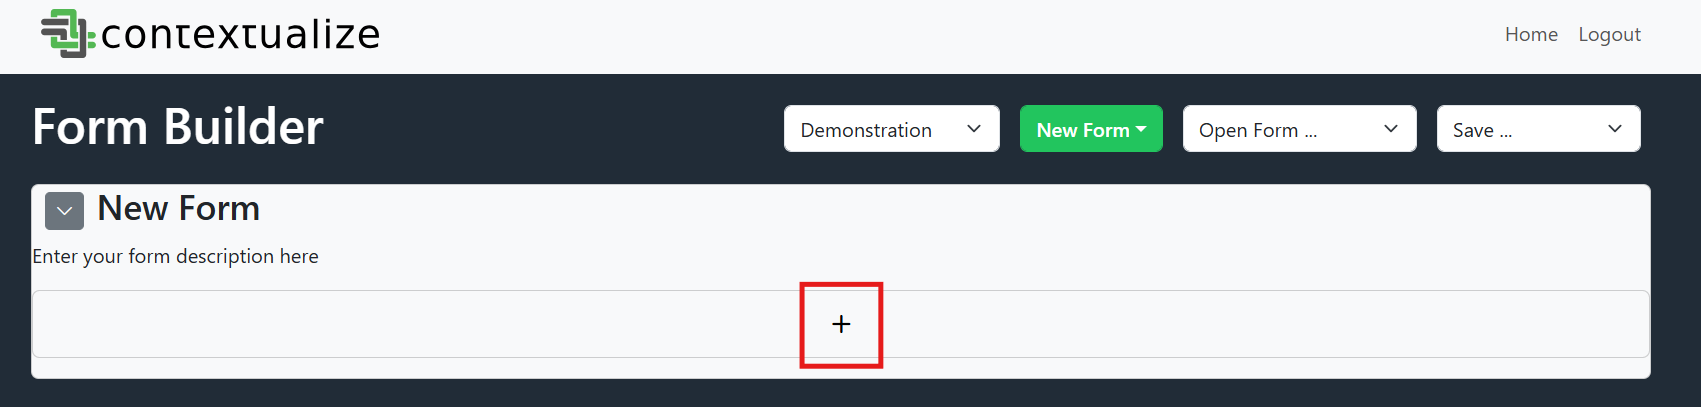
a. Edit Form Title and Description
The form title and description is visible at the top. If it is a new form, it will say "New Form" for the title and "Enter your form description here". Click each text to edit.

b. Add New Property
Select the "+" to add a new property to the form. A modal will appear.
c. Select Property Type
There are a number of property types to choose from. Select one of the following:
-
String: A free text input. Use this for names, descriptions, or any general text fields.
-
Number: A numerical input (can be integer or float). Use this for things like weight, length, temperature, etc.
-
Section: A visual grouping of properties. Use this to organize related fields under a titled section, like “Sample Information” or “Processing Details.”
-
Enumeration: A dropdown menu with predefined choices. Use this when a user must select from a limited set of options (e.g., material type, status, category).
-
Boolean: A true/false toggle (usually rendered as a switch or checkbox). Use this for yes/no questions or flags.
-
Date Field: A calendar date selector. Use this to capture timestamps, fabrication dates, analysis dates, etc.
-
Duration: An input for time duration (e.g., 1h 30m). Use this for process durations, soak times, etc.
-
File: A file upload field. Use this if the user is expected to attach data files, reports, images, or other external documents. Based on your project selection, the backend details will be appropriately captured in the resulting JSON for use in Collections.
d. Enter Property Title and Description
Enter a property name under "Name" and description under "Description" to help guide users filling out the form.
e. (Optionally) Required
Select the "Required" checkbox to make this property required in JSON. If this is used in Collections, everyone completing this form will be required to provide this field.
f. (Optionally) Allow Multiple
Select the "Allow Multiple" checkbox if this is a property that can have more than one value. (e.g. sample width that may have 3 measured values eventually averaged).
g. (Optionally) Add Default Value
Enter text under "Default Value" to have a default value present in the rendered form. This can be changed by users when completing a form if needed, but is automatically present at the Start of completing a form for convenience.
h. (Optionally) Error Validation
Enter regular expressions to include error validation on the field. Documentation for RegEx is linked to assist, but for more complication error validation consider a Regex builder or contact Contextualize.
i. (Optionally) Primary Key and Parent Key
A property can be a primary key, a parent key, or neither.
- Primary Key: This is the identifier for the current form or data record. Think of it as the "name tag" for the sample or process you're describing such as
Sample ID,Build ID,Test ID. - Parent Key: This tells the form how it relates to another entry by referencing that form's Primary Key. It effectively creates a link between this form and its "parent." When used in Collections, this field will render as a dynamic dropdown of all previously completed forms.
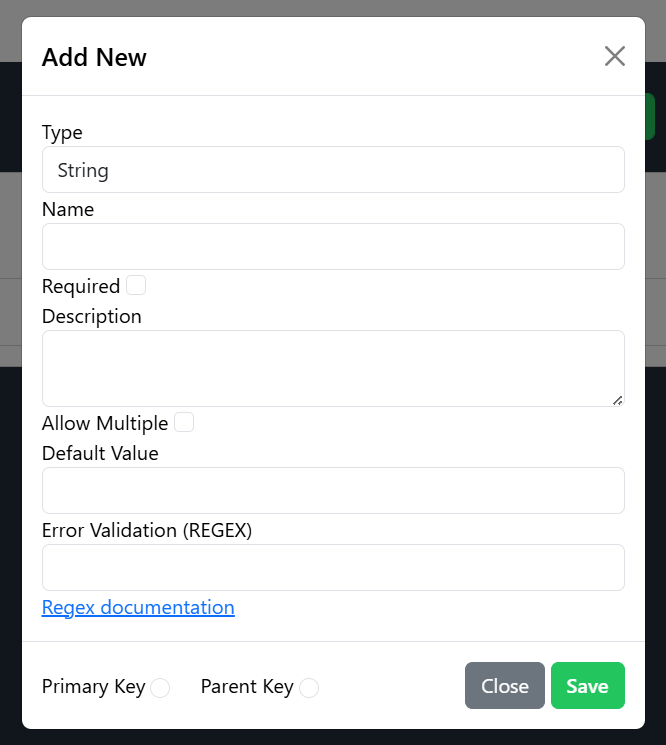
After completing your new property, select "SAVE".
j. Add Properties as needed
Select the "+" As needed, repeating steps a-i, until all desired properties are present.
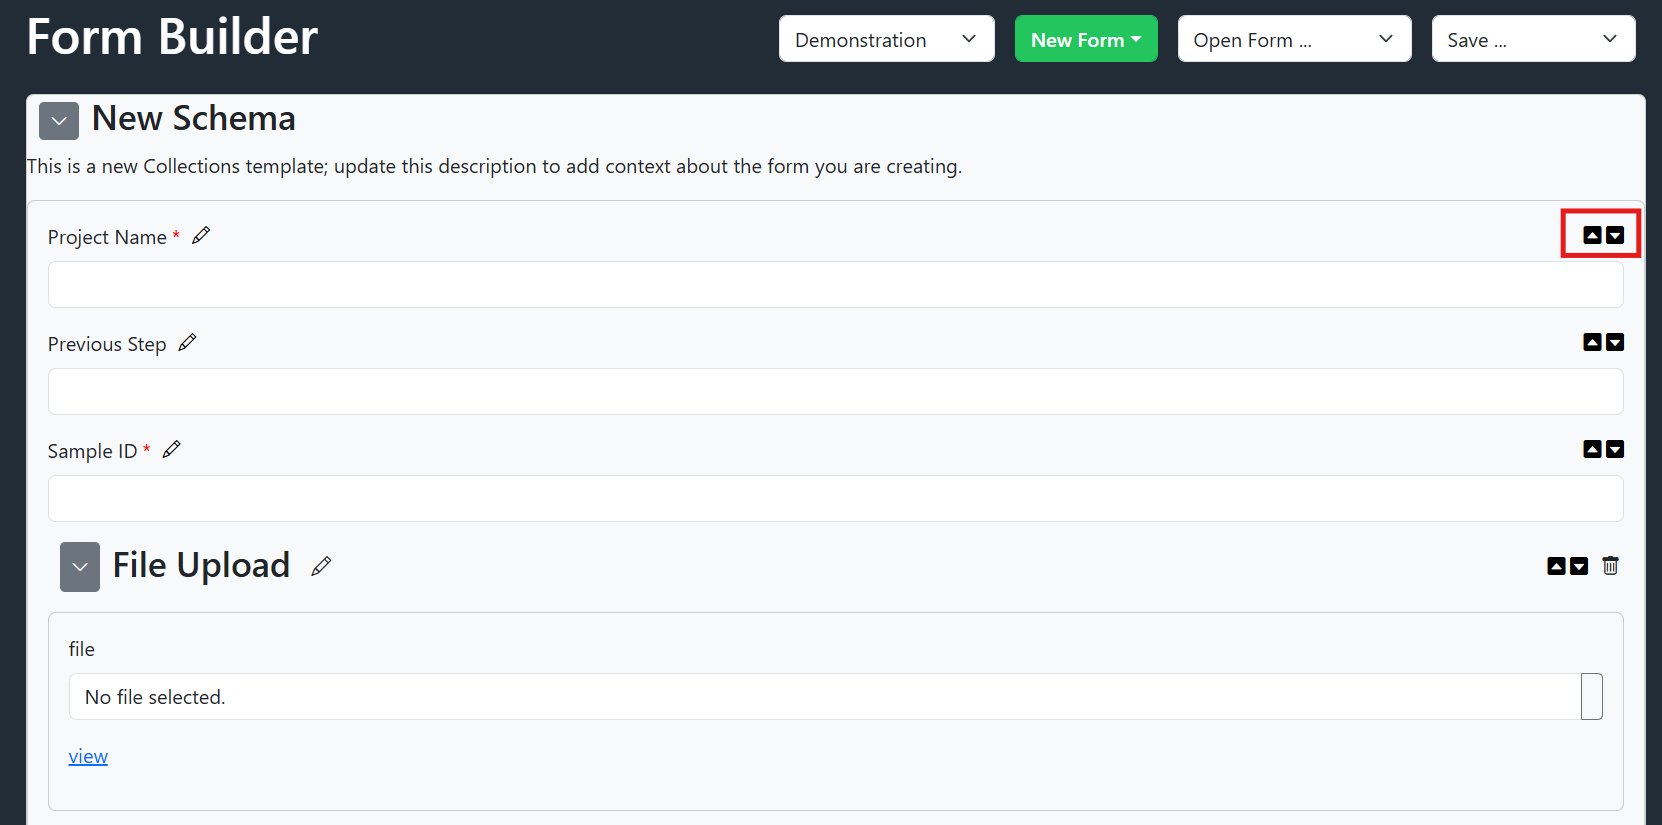
k. Reorder Properties
Select the up or down arrows as needed to reorder properties.
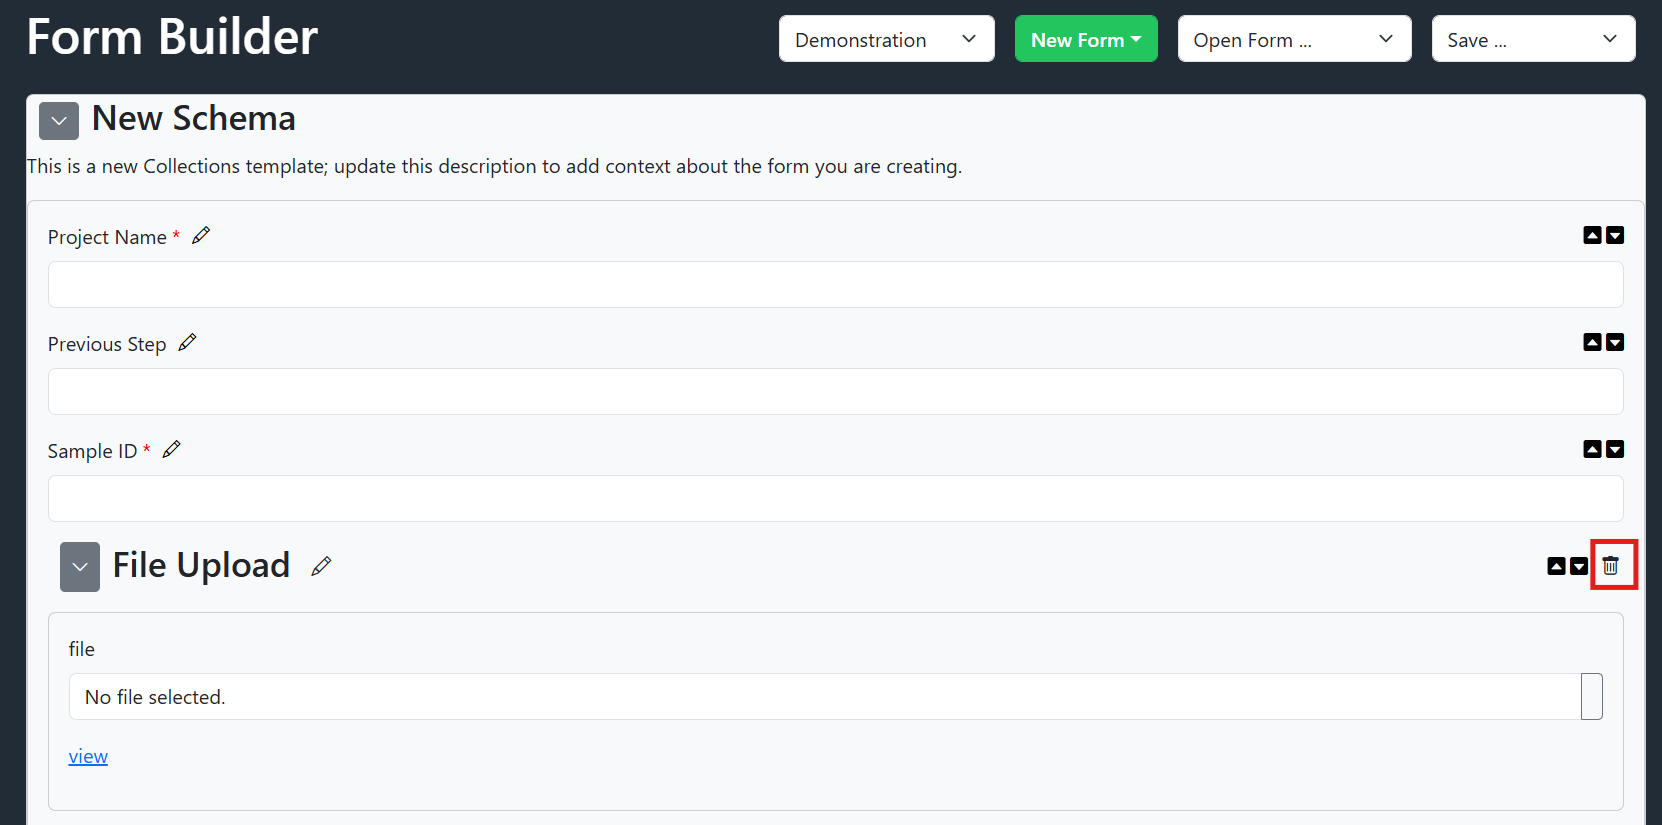
l. Delete Property
Select the trash can to delete a property. If using a template, some properties may not be deleted but they can be edited to change the title and description to be more applicable to your specific process.
6. Save the Form
Use the Save dropdown:
-
Download a Form — download the form schema to your device. This is helpful if you are not finished and need to resume later, or would like to use the JSON elsewhere (outside of Collections).
-
Save As.. — publish your template directly to Collections

Save As.. displays a modal with two options:
-
Override Existing Form: This allows a user to select an existing form in Collections to overwrite with the new edits. Schema are version controlled.
-
Save As New Form: This allows a user to add a new form to Collections.
Select your desired save method, click "SAVE" and you will receive a message that your form has saved successfully.
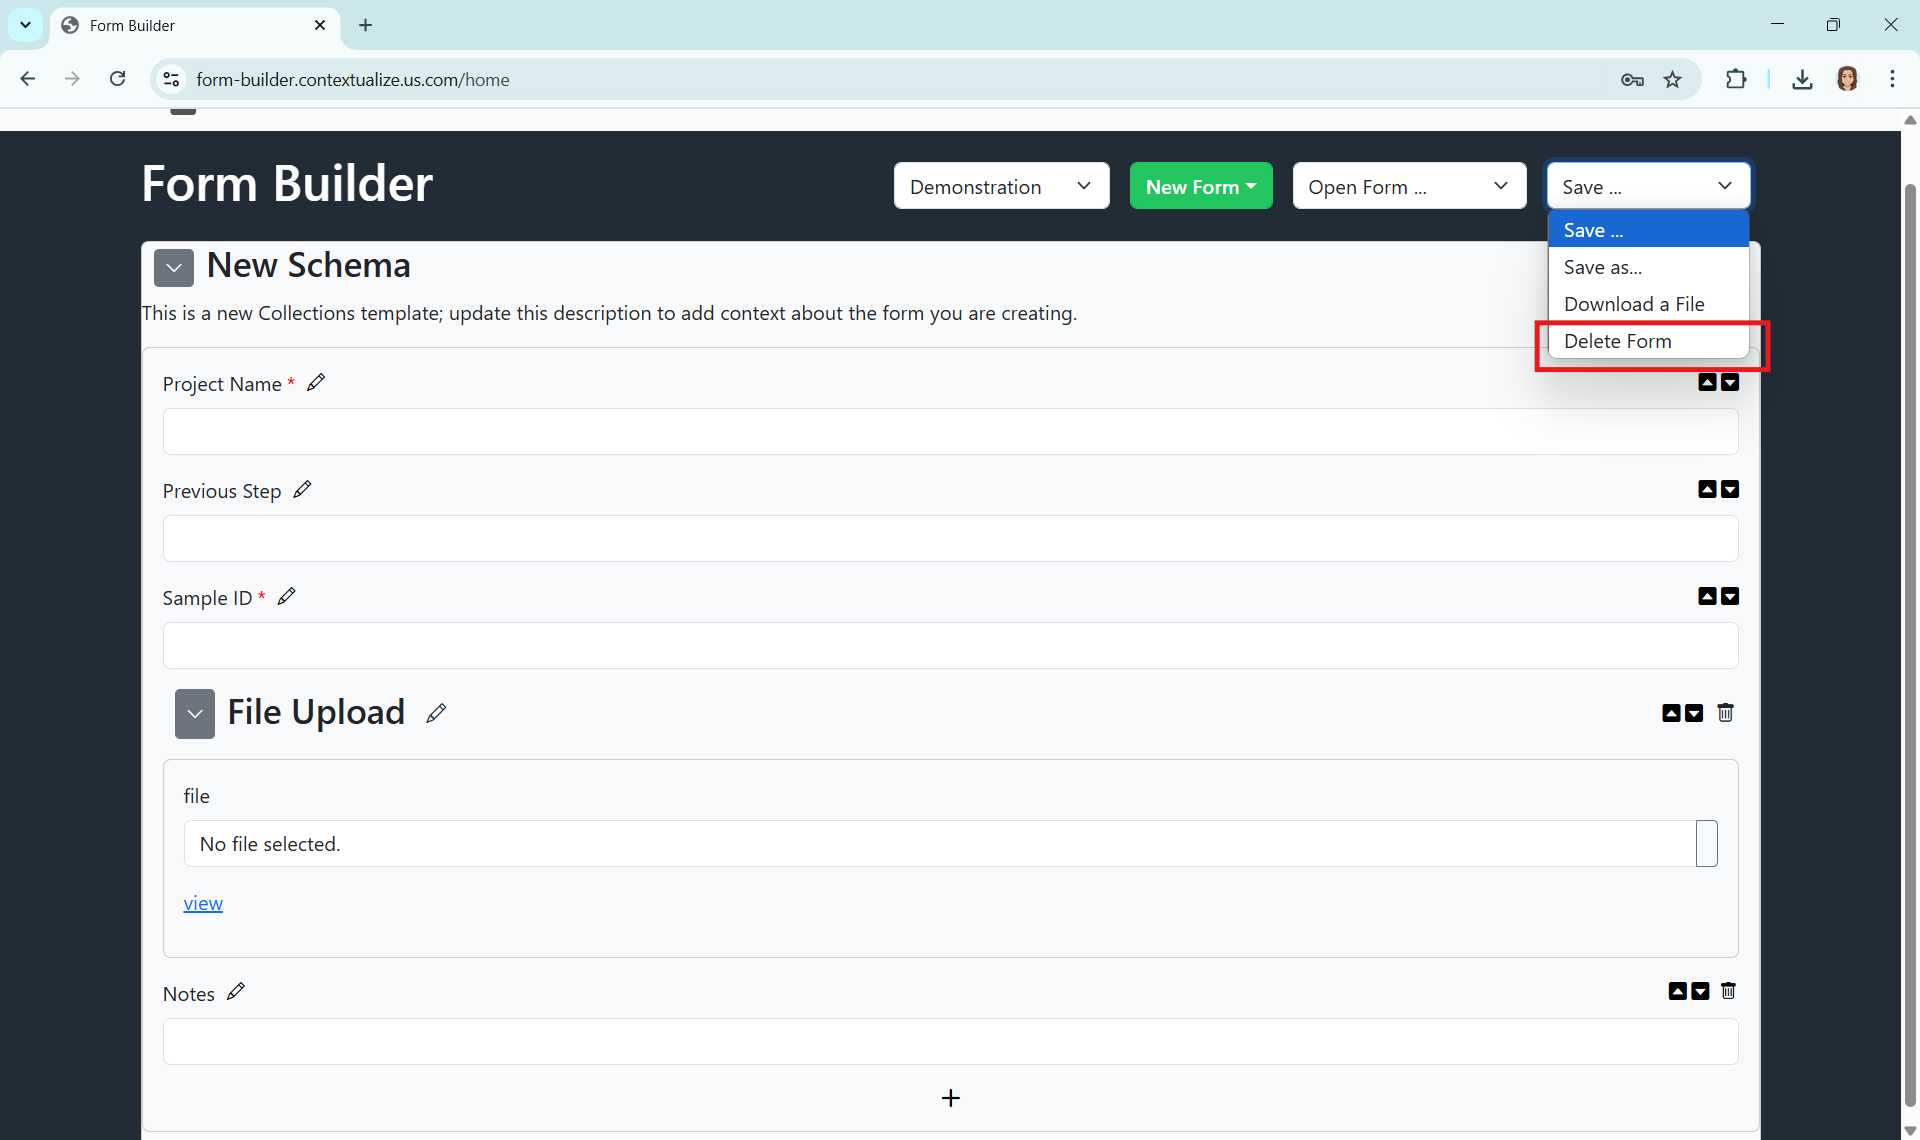
7. Delete a Form
Under the "Save.." menu, Select "Delete". This is disabled for most users and if you attempt, you will be given instructions on who to contact to delete the form.
10. Return to Home or Sign Out
- Click Home in the upper-right or the Contextualize logo in the upper-left to return to the dashboard

- Click Logout to sign out
